
8 Tips to Self-Tape Like a Pro
The pandemic has made online video communication essential. You may find that at some point you will be tasked with recording what we like to call a self-tape. This is typically a video you record of yourself speaking. Often times you will need to create a self-tape by yourself or with remote assistance from a colleague or a video producer. Here are some tips for filming a self-tape. Many of these pointers can also be applied to video calls in general.

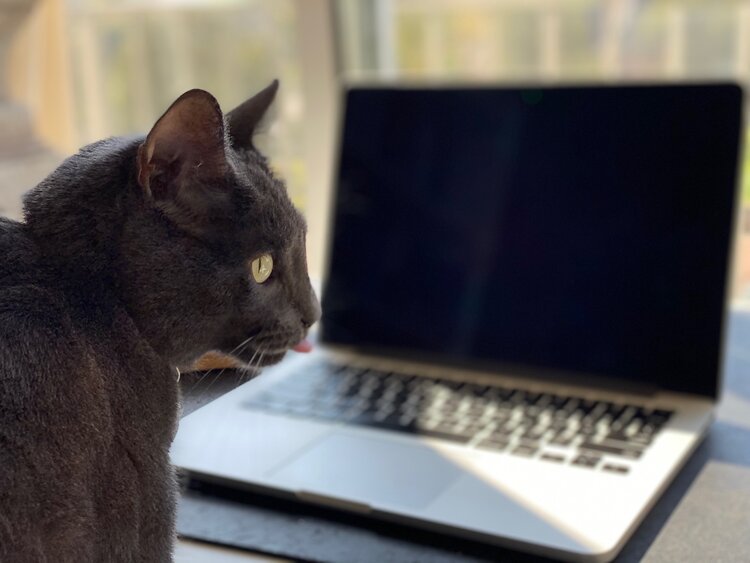
For this blog, we’ve enlisted the help of our cat and Post Production Supervisor, Seamus Grimsby.
1. Choose your device.
Laptops, smartphones, and tablets all make great recording devices because of their portability and built-in software. The iPhone Camera, Android Camera, MacOS Photo Booth, and Windows Camera all offer self-taping capabilities.
2. Steady yourself.
If you’re looking to record a clear, straightforward video, consider “locking off” your frame. Put simply, this means that you’re going to eliminate any movement by using, for example, a laptop sitting on a table or a phone stand/tripod.
3. Quiet on the set!
When choosing a filming location, make sure it is quiet at the time of filming. Silence your phone or any other noise-making devices.
4. Find your light.
The most powerful and accessible light source available to you is the sun. We recommend sitting adjacent to a window, with the window behind your computer or recording device so that you are front-lit. Sitting with your back to a window will make you appear silhouetted, and your face will not be visible. If you’re filming at night, replace the window light source with a lamp or another light you can place near your face.

Front-lit

Back-lit
5. Center yourself.
Leaving too much or too little space between the top of your head and the top of the frame can make for an uneven composition.

Too much headroom!
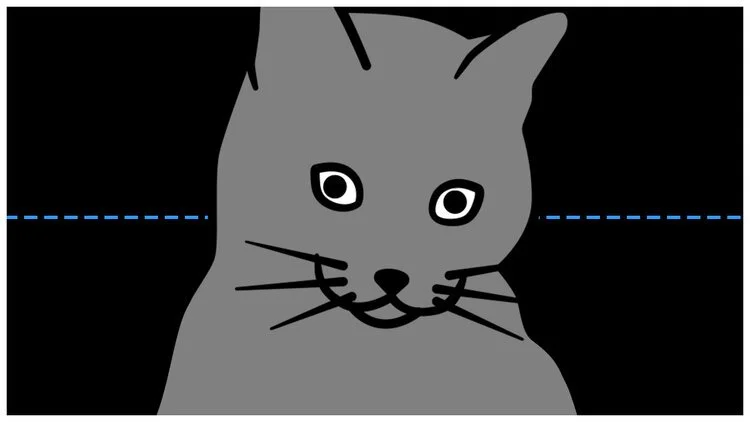
Purrrfect!

6. Know where to look.
We’ve all done it — staring at yourself during a video call. When self-taping, stare directly at the camera. No matter where viewers of your recording move, it’ll appear as if you’re staring at them, which will help to drive home your video message. Looking at yourself while recording has the same effect as talking to someone while staring at a stain on their shirt.
7. Get elevated.
Elevate your device so the camera is at the same level as your face, preferably your eyes. You don’t want people looking down on you or up your nose, do you?
8. Run a test.
Make sure to record a short test to verify that everything looks and sounds good. It is so frustrating to nail that perfect delivery only to discover that your microphone wasn’t enabled and the file has no sound.
